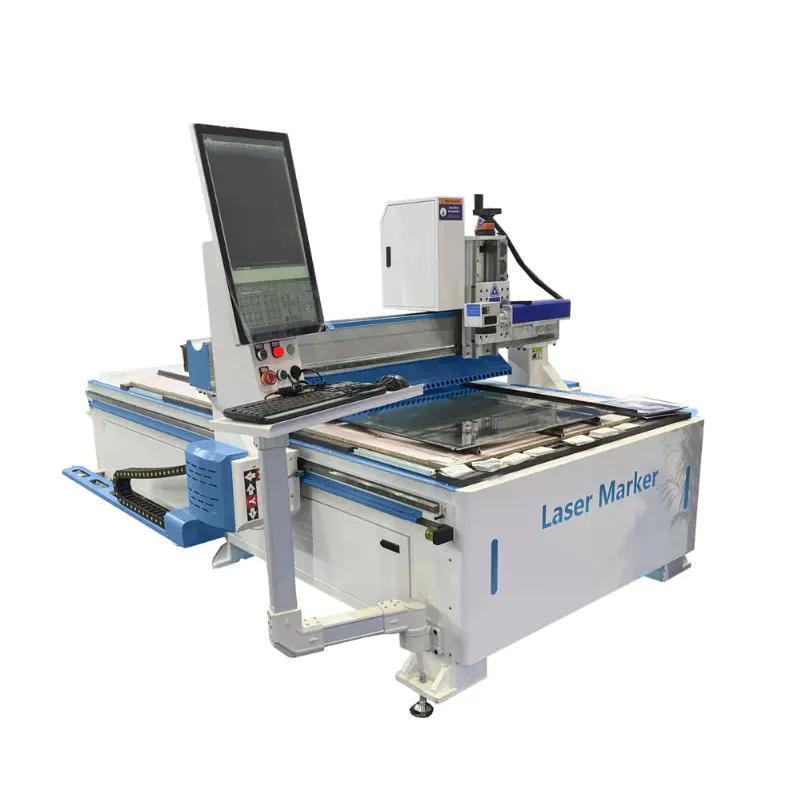
Advertising CNC Router Machine For Metal Wood MDF PVC Engrave
Enclosed Type
how to install/use grbl with your cnc machine!
by:Transon
2020-12-07
This instruction will teach you how to install and adapt grbl to cnc mill/laser cutting machine.
First of all, what is GRBL?
GRBL is the firmware of arduino board (
Uno, Nano, Duemillanove)
Control the stepping motor and the Spindle/laser.
GRBL uses gcode as an input and output signal via arduino pins.
Most industrial cnc machines use parallel controllers that require these large purple connectors.
Because of the GRBL arduino board, all you need to do is connect it to a free usb port.
If you already have the hardware, you can jump straight to step 3!
Grbl is compatible with all arduino boards based on atmega 328, which means you can use uno or nano but not mega based on atmega 2560.
Arduino mega is used for many 3d printers due to its more powerful processor, but because of the relatively simple tasks of the cnc factory, arduino uno is enough.
You need some kind of drive to drive the stepping motor.
Some popular options are a4988 and drv8825 for small motors like take 14 or 17, but should not be used for more powerful motors like take 23 and later
It\'s a good idea to stay away from people who are easy to drive.
To connect the motor driver and arduino, you can use the pre-
Make boards like the popular arduino cnc shield, or make them yourself.
It is easy to build your own building, but it may take a lot of time.
There are also arduino nano boards made specifically for laser cutting.
To sum up: These parts are required for typical cnc machines: 1x arduino board3x stepping driver (x,y,z)
Two things are required to install grbl: Grbl is now installed as an arduino library.
Navigate to File> example> grbl> grblupload.
A new sketch will open with instructions on how to flash grbl to the motherboard.
Now, with the firmware on the motherboard, you need to adjust the grbl to a specific machine.
To communicate with the motherboard, you need to turn on the arduino ide serial monitor.
You should see the message \"Grbl x. xj [\'$\' for help]
\"If you don\'t see the message, make sure that your port is connected to the correct port and use the wave rate of 115200.
Type \"$\" and a list of commands should appear as follows: $100 = 250. 000 (x, step/mm)$101=250. 000 (y, step/mm)$102=3200. 000 (z, step/mm)$110=500. 000 (
X max rate (mm/min)$111=500. 000 (
Maximum rate (mm/min)$112=500. 000 (
Maximum rate (mm/min)$120=10. 000 (
X accel, mm/sec ^ 2)$121=10. 000 (
Y accel, mm/sec ^ 2)$122=10. 000 (
Z accel, mm/sec ^ 2)$130=200. 000 (
X max travel, mm)$131=200. 000 (
Max Travel, mm)$132=200. 000 (
Max Travel, mm)
The most important part to change is step/mm.
Steps/mm need to be calculated, and the easiest way is to use prusas reprap calulator.
To change the settings, type the identifier of the parameter (
For example, step x is $100)
\"=\", Then the new value.
For example: Type $112 = 600 to change the z max rate to 600.
Make sure your settings are saved by typing $ and checking the value. Some settings (
Set like core XY, variable spindle)
Changes need to be made via configuration. h.
You can find the configuration file in the arduino library folder of grbl.
The file has instructions and should be able to be edited directly.
After editing the profile, you will need to re-upload the sketch to the motherboard.
Hope this manual is helpful and your cnc machine is up and running!
If there are any questions/omissions, please indicate them in the comments.
Custom message
Related Products