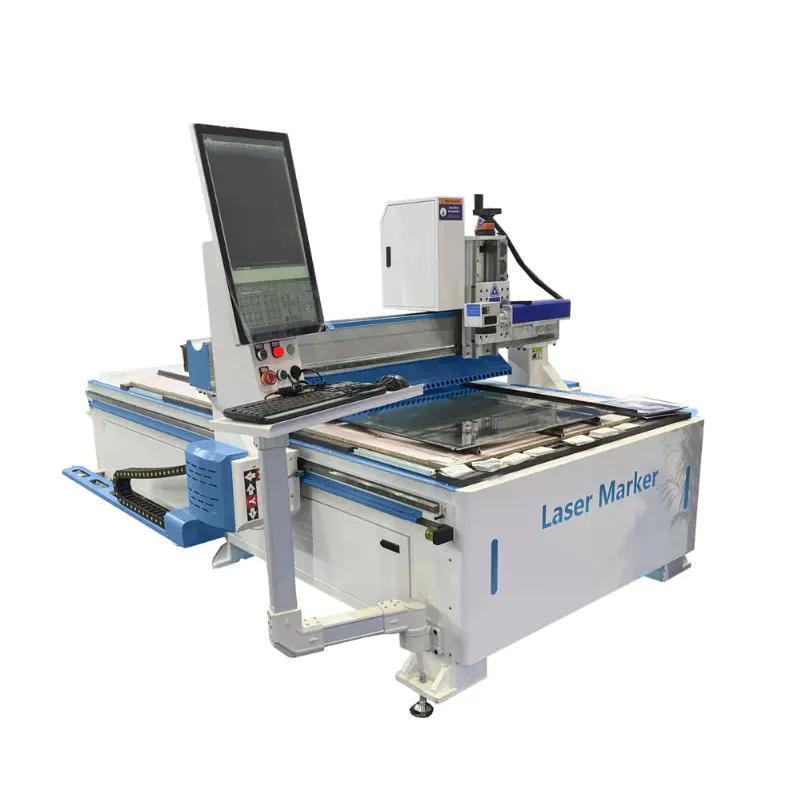
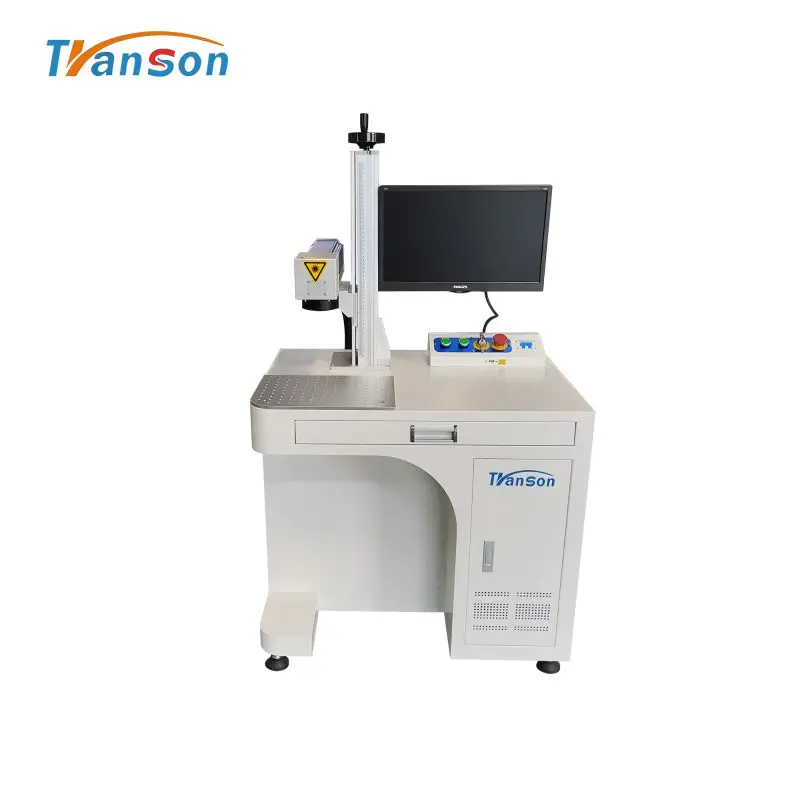
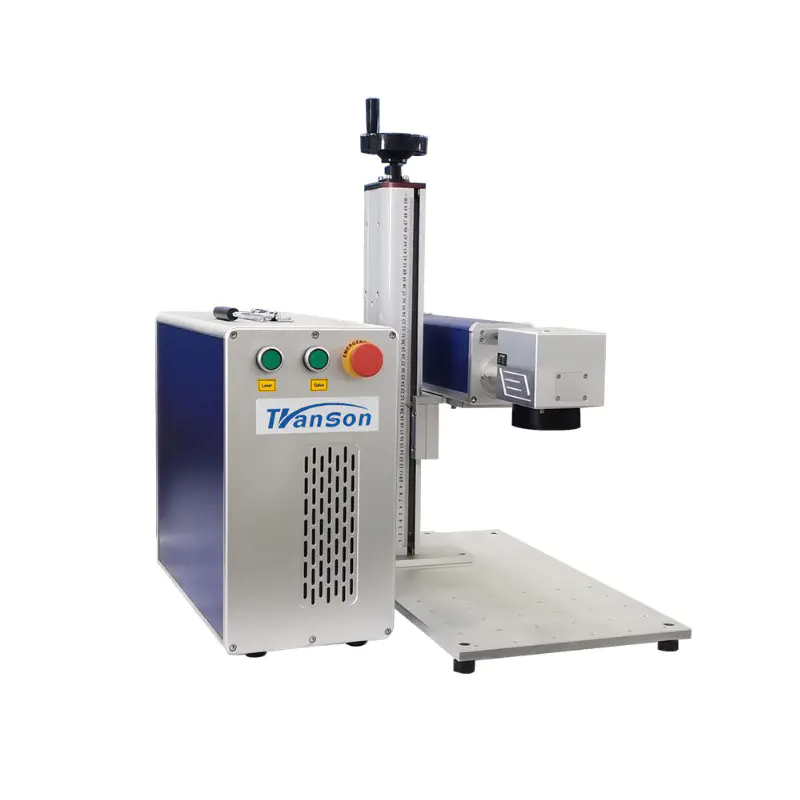
RF DAVI Co2 Flying Laser Marking Machine 30W 50W Factory Production Line flying co2 laser marking machine
Enclosed Type
laser cutter crosshair
by:Transon
2020-09-03
As a novice in laser cutting machines, it is a good thing to make the installation easier.
My machine has a red dot that shows where the knife head is.
It\'s good, but you don\'t have a background for the laser.
By adding a cross alignment to the laser, you will know where the head is in both directions.
You can align your machine with printed graphics and materials faster than with one point.
One of the cool side effects of this project is that the cross line doesn\'t matter z-height.
When I use the laser point, it moves every time I move the table.
For my building I just need to buy visible laser modules and used scrap from around the store.
According to your laser head, if you have a z-probe.
Basically you are making a fixture that will have two smaller plastic sliding clamps and a z-probe.
Fix the fixture on the knife head with two fixing screws.
There is a fixing screw in each plastic visible laser holder that can hold the rotation.
There is another fixing screw in each groove to keep the visible laser X or Y position.
I have made a Fusion360 model for you, which can be made according to your design: the slider groves and the visible laser holder have tolerance. 05mm.
If you find yourself changing the model, be sure to add subtraction and extra.
From your size to/from 05mm.
Once you\'re happy with your design, it\'s time to grind it.
It turned out that my design was aluminum.
After I assembled and powered on, I found that the laser module housing was grounded. That\'s no good.
In the picture above, the visible laser holder is metal and your should be made of hard plastic.
This project was my first multi-part milling and I was surprised that everything fit.
After you have the parts ready, it\'s time to drill and knock on all the fixed screw holes.
Take care of drilling and tapping to ensure that all holes are perpendicular to the edge of the fixture.
All holes that need to be tapped are in the Fusion360 model.
I added two non-threaded holes at the end of each slider slot.
These additional holes allow access to the fixing screws that control the rotation of visible laser.
If your machine has z
Probe, you need to z-
Probe bracket hole.
My machine has a crazy thread on the z probe that I can\'t match.
My friend had a lathe so he made me a new probe with standard threads.
The new probe uses the back end of the drill bit as the contact point.
You need to cut all connections to the old alignment laser and z-probe.
I was sad to see all the wires hanging out of my machine.
You should use your voltmeter to double check the voltage of the laser at 3-5v.
The visible laser is first welded in parallel and then welded to the machine.
If you choose to use the plugs, you can also add them to the mixture.
If you have a z
The probe also welded it back.
Now is the time to correctly align the visible laser with the knife head path using the fixing screw.
I etched a square on the paper and matched the red line with the etched path.
When you tighten the visible laser, you will find that they move a little bit, so be sure to blur a little bit before adjusting the fixing screws. Have fun!
Custom message
Related Products