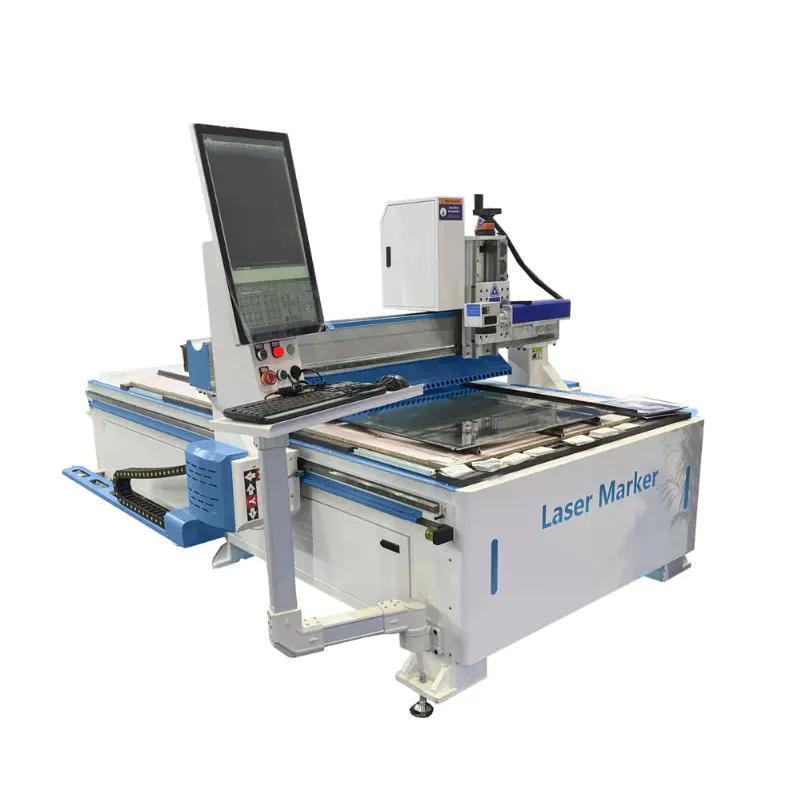
6060 High Precise 1500w Fiber Laser Jewelry Cutter Fiber Laser Metal Cutting Machine for Silver Gold Stainless Steel
Enclosed Type
how to make grbl + cnc v3 shield based mini cnc machine from scrap dvd drive
by:Transon
2020-12-07
This CNC is based on grbl0.
9 firmware and CNC V3 shield GRBL hackedaxis Servo.
The CNC Shield & GRBL combination works very precisely. It loads very useful features such as hard limits, soft limits, homing, etc. This is about how to make an Arduino-based CNC machine shield for GRBL CNCV3 this guide includes all the necessary instructions such as how to assemble a CNC machine how to load GRBL into an arduino Inkscape extension install GRBL configuration and G-
It loads very useful features like hard limits, soft limits, attribution, I will give you detailed instructions on how to make GRBL-based mini CNC machines at home. Watch this video and you will have a clear idea of how to make and operate a CNC machine.
Arduino ide grbl Library :-
Click here to download--------------------------------------------------------------------------------------2.
INKSCAPE servo control extension :-
Click here to download---------------------------------------------------------------------------------------------3. UNIVERSAL G-CODE SENDER : -
Click here to download----------------------------------------------------------------------------------------------
For better understanding, please watch the videos and pictures here, wiring as shown in imageLimit switch is optional
Hard limit (bool)to$21=1 (
Hard limit (bool)
Download the link library file for GRBL settings unzip it and load it into arduino now go to File> example> grbl Upload compile and upload the code to arduino note :-
Delete the previously loaded GRBL library again, we are here to make G-using INKSCAPE software-
We use GRBL & CNC Shield for this machine, so it does not support servo motor as Z-
So here we can manage the servo work on Z-by doing this
You need to add the MI extension here to get it in Z-
Axis servo download link download add this file to inkscape Directory> Share> extension folder now open inkscape set page size 40x40mm draw content to draw select Image go to path click MI GRBL z-enter extension
Servo rise of Axis servo control = M3 servo drop = M5 X-
Y axis speed = 2000
Axis speed = 2000 servo angle = 90 delay = 1 directory = file name according to your convenience or hold = as is according to your convenience or keep-
The code is saved @ the download link of the universal Gcode sender you mentioned opens the universal G-code sender (
Arduino must be connected to PC/laptop)
Select COM port on Open go Command tab set baud rate 115200 clik enter $ for GRBL configuration example assume we want to change $0 (
Step pulse (usec)
The value is from 10 to 20, so enter $0 = 20 in the command line & click input to complete my GRBL setting $0 = 10 (
Step pulse (usec)$1=25 (
Step idle delay (msec)$2=0 (
Reverse shield of stepping Port: 00000000)$3=0 (
Dir Port reverse mask: 00000000)$4=0 (
Steps to convert, Boolean)$5=0 (
Limit pin conversion, Boolean)$6=0 (
Probe pin reversal (bool)$10=3 (
Status report Shield: 00000011)$11=0. 010 (
Connection deviation (mm)$12=0. 002 (
Arc tolerance (mm)$13=0 (
Report inch (bool)$20=0 (
Soft limit of Bool)$21=0 (
Hard limit (bool)$22=0 (
Cycle of automatic search, Boolean)$23=0 (
Looking for dir reverse mask: 00000000)$24=25. 000 (
Feeding (mm/min)$25=500. 000 (
Finding (mm/min)$26=250 (
(Msec)$27=1. 000 (homing pull-off, mm)$100=5. 000 (x, step/mm)$101=5. 000 (y, step/mm)$102=100. 000 (z, step/mm)$110=500. 000 (
X max rate (mm/min)$111=500. 000 (
Maximum rate (mm/min)$112=500. 000 (
Maximum rate (mm/min)$120=10. 000 (
X accel, mm/sec ^ 2)$121=10. 000 (
Y accel, mm/sec ^ 2)$122=10. 000 (
Z accel, mm/sec ^ 2)$130=40. 000 (
X max travel, mm)$131=40. 000 (
Max Travel, mm)$132=200. 000 (
Max Travel, mm)
Custom message
Related Products