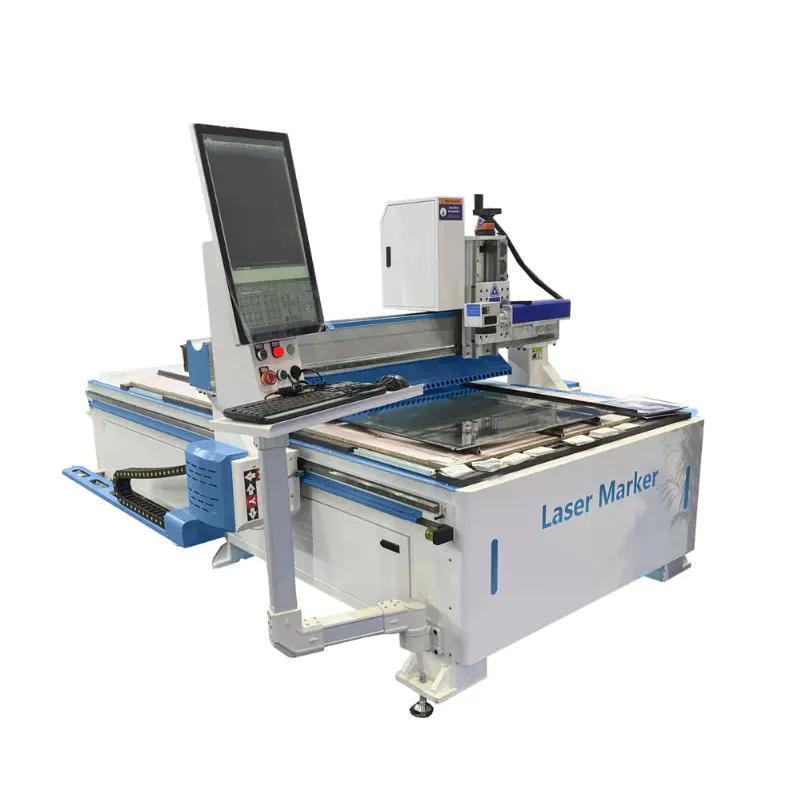
Laser Engraver Engraving Desktop carving Cutting Machine CO2 Laser Machine 3D Laser Wood Engraving Machine
Enclosed Type
Buy these basic knowledge after carving machine how much you know?
by:Transon
2020-04-27
Installation instructions: (carving machine and accessories
A)
Engraving machine installation process: 1.
1 will be engraving machine placed on a flat surface, carving the body of the four corners with adjust leveling suggest the mesa with level to level 1.
2 the vacuuming pipe support respectively fixed to the Z axis head and the side of the bed bracket.
Have screws on the fixed place, remove after install the bracket on it.
1.
3 for water tank water injection.
Spindle is water to cool the cutting motor, so we fixed a water tank on the case, from the inlet water.
1.
4 the engraving machine left the power cord at the back of the chassis, a total of four pillars to the three-phase electricity, including root black line should be zero.
From the parts in the control handle and even the machine line in the above case, according to the main switch, handle display bright, hint whether to return to the origin, according to determine the key back to the origin, the machine start, Z axis rises to the top, the X axis back to the left side of the Y back to front fuselage.
Methods: check whether the pump work normally to pull out an outlet to watch to see if there is the water out.
Pump work in long time water pump outlet pipe can not have the water out after inversion, adjust input to exchange the following two line in the water pump, and make the water pump is turned.
1.
5 have brush dust hood from fit at the bottom of the cutting motor spindle, brush is lower than the main shaft clip to the location of a knife knife, this position is adjustable, of course, mainly vacuum can have very good effect.
1.
6 vacuum tube.
Vacuum tube has three, two long and thin, a is coarse, long.
Long on the other side need to pick up a vacuum cleaner, which the vacuum suction has three, one is equipped with a seal cover, the other two is to take over the head, if you only need one, can use the duct tape another mouth.
Automatic tool change mini engraving machine (
2)
The installation of the vacuum pump 2.
1 will vacuum pump installed on a flat surface and bolt fixed by the bolt hole on the corner, no special base or chassis 2.
2 it will filter tube with sealing tape around in circles, turning in electricity above non-return reading on the body.
Must ensure that the joint sealing.
2.
3 from the inlet into the water until the outlet with the water out.
In use for a period of time after the water will reduce the water temperature will increase, so you need to note: the operator must often add water to overflow and outlet water temperature less than 80 degrees Celsius.
It is recommended to connect water pipe water mouth, water outlet or the two can cycle to ensure that the water enough.
Note: do not run dry vacuum pump gas in and out of the direction of rotation direction and pump weeks were marked with the arrow on the vacuum pump.
1325 advertising engraving machine (
3)
The installation of the vacuum cleaner 3.
1 please here is installed according to the packing.
3.
2 access three-phase electricity, start the motor dust collection bag must open or is reverse.
Any rearrangement of two lines can be solved.
3.
3 commissioning operation: after the three sets of equipment for the engraving machine adsorption tubes inserted into the vacuum pump suction removed from a bracket at the back of the mouth, with tightening up checkpoints.
Vacuum tube connected to the vacuum tube it.
Switch machine, all the equipment in an open position, after the switch machine side before six adsorption partition and material on the surface of the drag does not open, firmly sucked on the table;
Open the dust hood, swiping feel two pipeline suction;
Lever to reset the machine and then up and down or so before and after the normal movement.
This demonstrates that the machine can run normally.
Custom message
Related Products