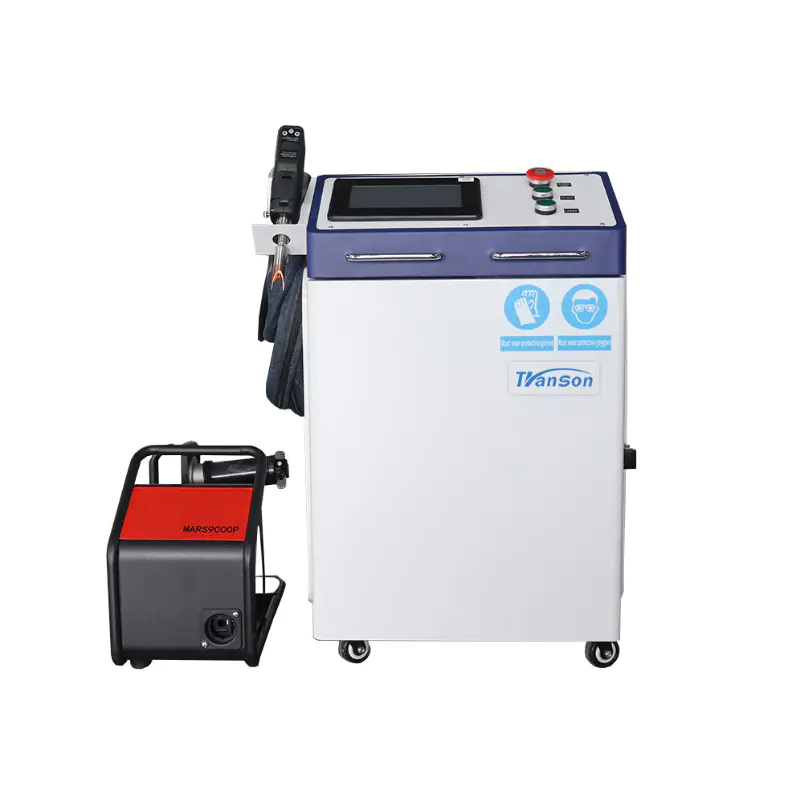
Portable 2000W Handheld Fiber Laser Welding Machine 4 in 1 3000W welder For Metal
Enclosed Type
how to make a leather passport cover (with laser cutter)
by:Transon
2020-09-03
When you are an experienced traveler (Like my partner.
Your passport is very worn out.
Fortunately, you can prevent the deterioration of your passport (a. k.
A \"ticket for you to go home \")
A few steps away!
This project needs to use the laser cutting machine I visited at techshop.
You should collect some important materials before we start: 1. passport2.
Leather Products-(
About 1 square foot)3. needle4.
Heavy line 5.
Thread cut or cut.
Computer with Adobe Illustrator (
I use this @ TechShop)7. laser cutter (
I use this @ TechShop)8.
The flashlight turns on your passport and measures the length and width of the passport in this location-
Write down these dimensions.
I measured about 7 \"opposite and 5\" high.
Open a new file in Adobe Illustrator and I select the file size to be 18 \"x 24\" as this is the bed size for TechShop\'s Epilog Helix laser cutter.
It also helps to visually display the location and approximate size of the cut by placing the cut in the context of the bed.
Draw a rectangle with rounded corners (
This is a drop down menu in a basic shape, if you click and hold (or right click)
On the shape tool.
When the shape is still selected, specify the size in the toolbar at the top of the screen.
This is important: add an extra one.
Each dimension has enough space to stitch the leather to a comfortable fit.
Draw two more rectangles.
These will be the inner flaps holding the cover of the passport.
The size should be 5. 25\" (
Same height as the first rectangle)and 2\" wide.
This should be wide enough to ensure the cover is secure and to provide space for contact information.
These flaps can be placed anywhere in the file-
Especially if your leather pieces are in a strange shape, but now let\'s put them in this direction (see below)
For convenience, build the rest of the template at the same time.
After creating the hole patterns, you can move them around to fit the rest of you.
Now we need to make a hole in the thread.
Manual threading will be easier, consistent and attractive in this way.
Disclaimer: I\'m sure there\'s a more elegant way to implement consistent hole patterns, but for quick and dirty prototypes I drew them as shown below. . .
First, draw a circle with a width of 0.
02 \"anywhere on the page (
Away from the previously drawn rectangles, which helps to accidentally select them in the process).
Select circle and transform> move.
Type in a distance of 0.
15 \"@ 0 degrees, then now press the\" copy \"button instead of\" OK \"and type Ctrl D to transform again when the new circle is still selected.
This should add a circle.
15 \"on the right.
Repeat this command until there is a circle with a line of about 7. 25\" long.
The purpose is that you now have a bunch of holes that are long enough to span the top of a large rectangle.
Before moving the hole to the position, open the ruler, Ctrl R if not already.
We will create some guidelines to help place holes properly.
Click the top ruler and drag the guide down at 1.
You can specify the exact location of the new guide by typing values in the Y direction at the top.
Create a new guide.
This time click on the ruler on the left and drag a vertical guide at 1.
Type 1 of X value \".
Now select all three rectangles and place them so that the left and top of the larger rectangle are aligned with the new reference line.
Create orientation and positioning for both side panels so that we can easily make offset orientation for the holes later.
I also copied and pasted a few rows of holes in order to rotate and move for the next step.
Now that we know the exact location of the profile, we can create a guide for the hole.
Create two new guides (
A horizontal, a vertical)
This is offset.
\"From the picture you just drew.
Select a whole row of holes and drag.
1 \"offset reference line for larger rectangles.
Copy, paste, and rotate in order to achieve holes all the way around the first shape.
Remove any unnecessary holes.
Your spacing will shrink slightly in the corner, but it won\'t be obvious at the end.
The result should be this: in order to find a matching hole on the inner flap, click and drag a selection box around the area where the left flap will be placed (
Remember the flap is 2 \").
When drawing this selection box, you may capture something that you do not want to copy.
You can always remove items from your selection by pressing shift and clicking on the unwanted items you want to unselect.
Items such as guidelines and larger rectangles need to be deselected so that only the hole pattern is obtained when performing the replication.
Paste the pattern and drag it to align with the offset reference line on a smaller rectangle (flaps).
Since there is a flap on each side, do the same for another small rectangle, but this time be sure to select the pattern on the right side of the large rectangle instead of the pattern on the left side, because that\'s where it will eventually be connected.
You should end up with this: now you have a template and don\'t forget to change all the line weights to 0.
001 \"so that the laser cutter can interpret them as cutting lines. [
This note will not include how to use a laser cutter, as there are already many other resources available on this issue. ]
I always like to run some test cuts and etches before sending files to make sure my settings are dialed in.
These are usually made up of a cut and a grating as follows: I run the same test several times until I am satisfied with the quality of the cut.
After doing this, be sure to write down your settings so that if you are going to recreate the cut, you can get a better idea of where to start.
Now you are ready for the real thing!
Now that you already have three laser cutting pieces, put the larger pieces on the table so that the better looking side will be down.
This will be the outside of the passport holder.
Arrange the left and right two smaller flaps to make sure the better side of the fabric looks towards you.
Using heavy lines and hand needles, carefully stitch the pieces together, cling each ring together, but not tight enough to bundle the edges.
I chose to make my stitching diagonal, but you can play around in a different style and see what is attractive to you. Having pre-
Cutting holes makes this process quite tolerant.
In order to finish the stitching, make a knot.
Now, everything is ready and you can put your passport in with confidence!
Just slide the blue lid onto the flap!
Custom message
Related Products