Woodworking engraving machine, rounding - six segmentation way
-
Engraving machine _ _ _ _ CNC woodworking engraving machine engraving machine carving factory house
by:Transon2020-07-16
> CNC machinery co. , LTD. , integrating research, development, manufacture various types of woodworking advertising engraving machine | jade stone carving machine | | metal mold engraving machine series of optical fiber laser five-axis robot | | styrofoam CNC mortise and tenon joint processing center production line | | customize household such as all kinds of CNC engraving machine series, just take a look at below small make up of woodworking engraving machine six segmentation way explanation, hope to be of help.
due to the largest woodworking engraving machine engraving area is limited, there are times when we want to machining materials size is greater than the maximum size of machine, need to use such a function graphic division at this moment.
Will be a whole graphics is decomposed into several independent graphics, closed graph decomposition after each graph is still closed.
Can be separated from the graphics do path respectively, graphic form, there are a lot of segmentation: line segmentation, rectangular, elliptical segmentation segmentation, parallel lines, circular segmentation and segmentation rays, break up, so that it can be finished the large-format engraving requirement.
a.
Rectangular segmentation
to edit the selected graphics, select menu bar in the 【
Modify the 】
/【
Simple segmentation 】
/【
Rectangular segmentation 】
Command, and then draw a rectangle on the selected graphics, the graphics will be divided, the boundary of the rectangular must intersect with the graphics is divided.
2.
Straight line segmentation to edit the selected graphics, choose the menu bar in the 【
Modify the 】
/【
Simple segmentation 】
/【
Straight line segmentation 】
On command, and then the selected graphic drawing a straight line, the graphics will be divided, draw straight lines must be split across graphics!
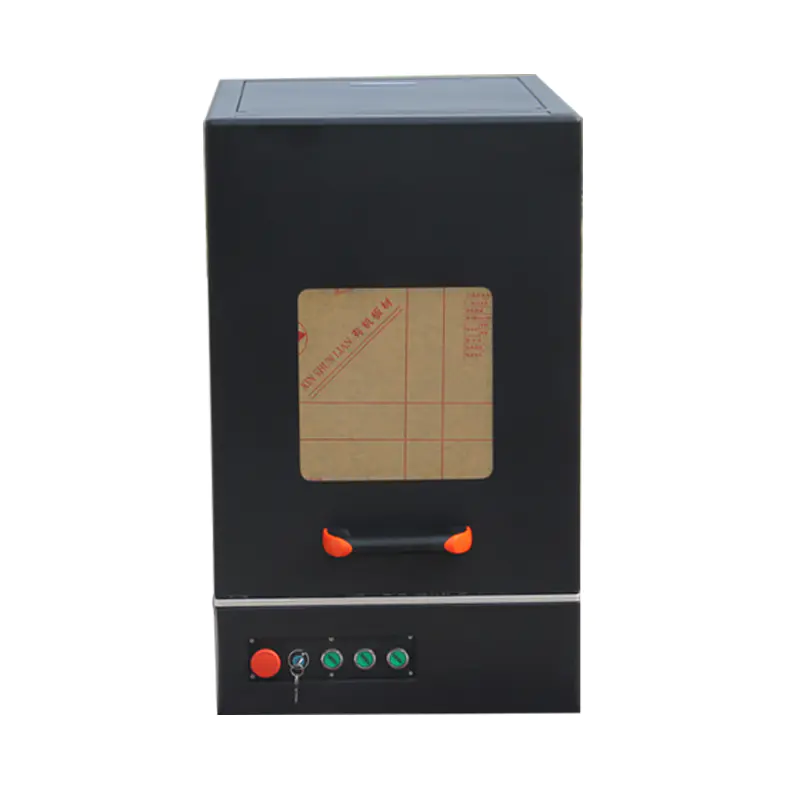
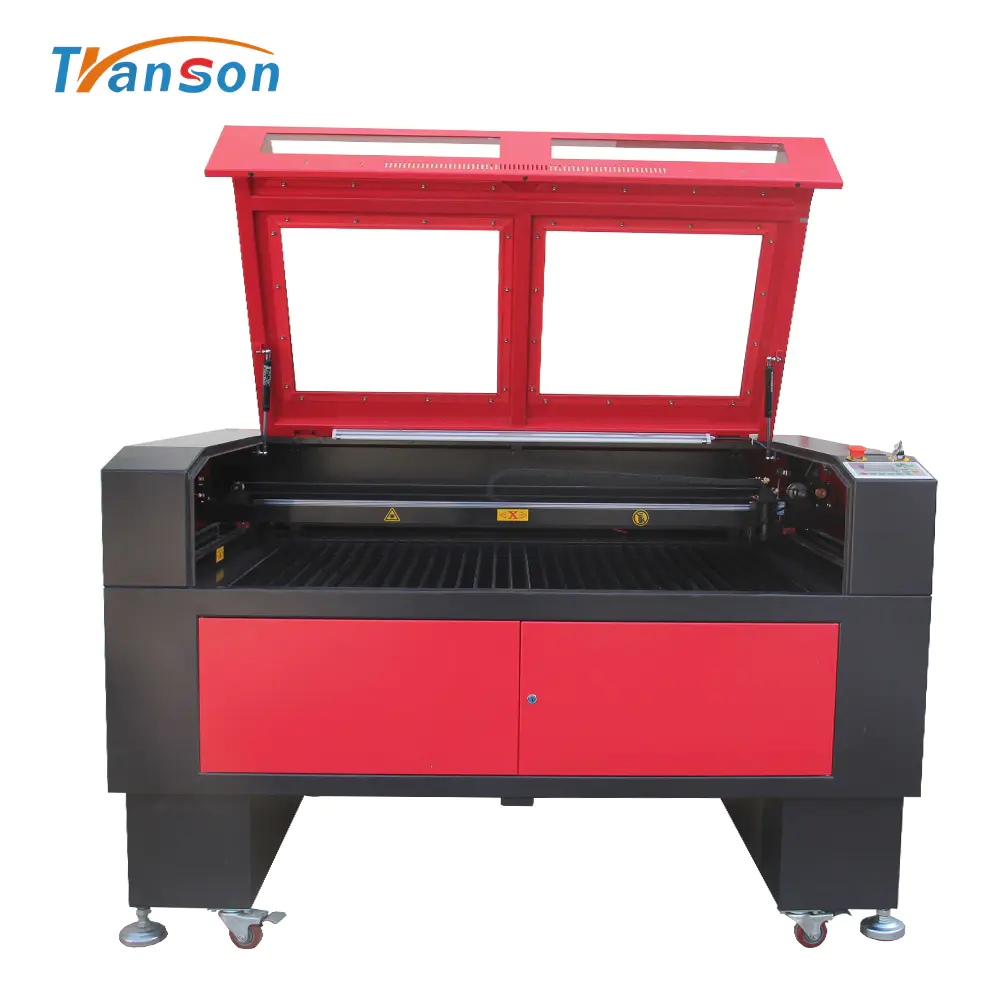
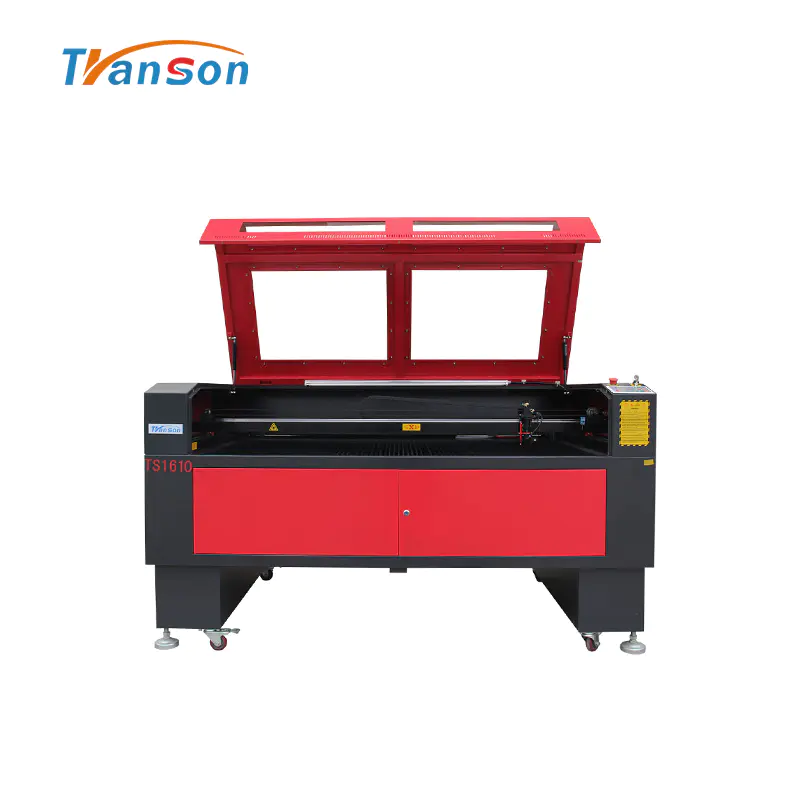
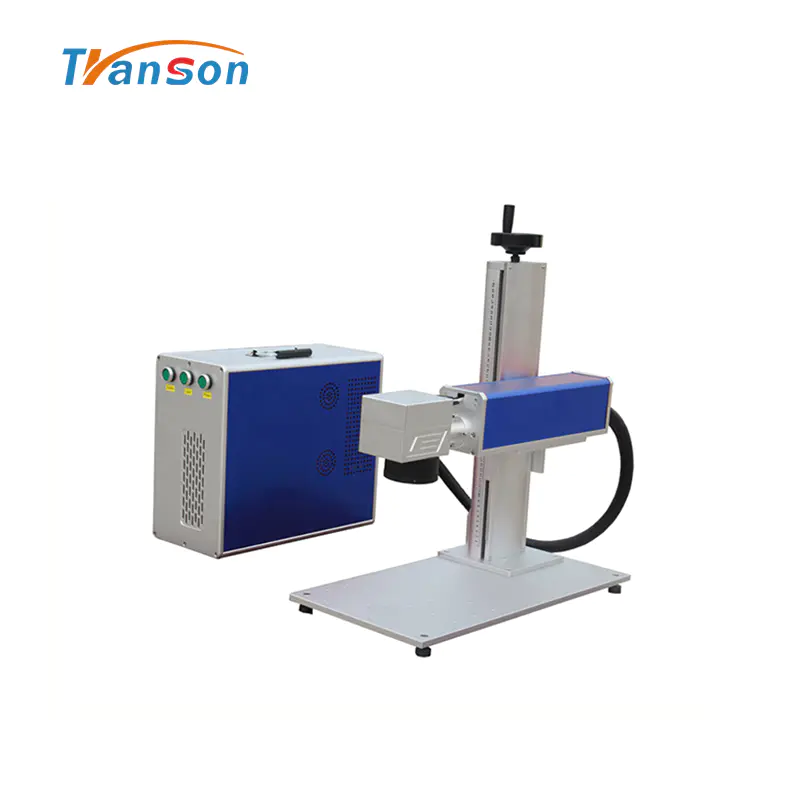
click to see more woodworking engraving machine
3.
Elliptic integral
to edit the selected graphics, select menu bar in the 【
Modify the 】
/【
Simple segmentation 】
/【
The elliptical segmentation 】
Command, and then draw an ellipse on the selected graphics, the graphics will be divided, elliptic boundary must intersect with the graphics is divided.
4.
Annular segmentation to edit the selected graphic, and then select the menu bar in the 【
Modify the 】
/【
Segmentation 】
/【
Annular segmentation 】
Command will pop up annular segmentation Settings dialog box, including the initial radius Settings, keep interval setting, split interval set.
Are reserved to the initial radius for the minimum interval value, interval segmentation and segmentation interval and parallel lines.
5.
Ray segmentation to edit the selected graphic, and then select the menu bar in the 【
Edit 】
/【
Segmentation 】
/【
Ray splitting 】
Command will pop up ray split Settings dialog box, including initial Angle setting, keep interval setting, divided interval setting.
Initial Angle refers to the starting point of value, ray segmented regions keep interval refers to the width of the ray with center, interval segmentation refers to the width of the center of the area between the two belt of rays.
6.
Parallel lines divided do this before, first selected to edit graphics, and then select the menu bar in the 【
Modify the 】
/【
Complex segmentation 】
/【
Parallel lines divided 】
Command will pop up parallel split Settings dialog box, including rotation Angle setting, keep interval, interval segmentation.
Rotation Angle is refers to the horizontal line and the Angle between the horizontal line, keep the width of the interval between left part refers to the division, the division between interval is refers to the part after delete blank width.
Use the mouse to drag the line parallel to the appropriate location, click the left mouse button or press 'Enter' key to parallel split.
If you want to cancel the operation, click parallel partition Settings in the dialog box or press 'cancel' button 'ESC' key and click the right mouse button.
We are here to help you! If you close the chatbox, you will automatically receive a response from us via email. Please be sure to leave your contact details so that we can better assist

 E-mail: sales@transoncnc.com
  Mobile: +86 18653117691 (whatsapp)
